Create a Custom Welly Design

Step 1: Download Paint.Net
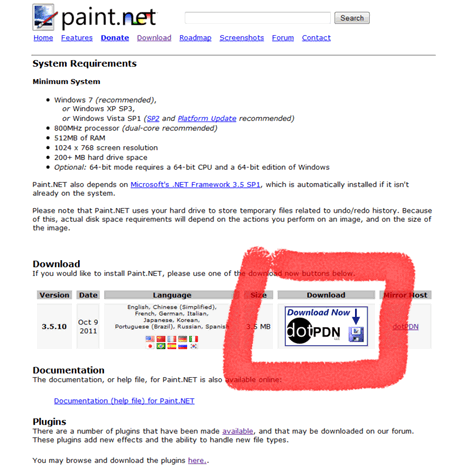
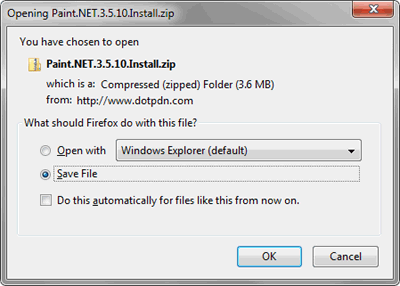
Download Paint.Net digital painting software to your desktop so you can find it. After downloading, double-click to install the software. Note: It can be quite difficult to find the right button to click - see below for the highlighted button in red. This is what you should see when you download the software.
Step 2: Use an outline of a boot to use for your design
Step 3: An image for inspiration
We will use the following image of the fishing town of St Ives for tracing and to become the main design on the Wellington boot.
Step 4: Technique for design of Wellington Boot
Use the following technique for designing your Wellington Boot. You can use our image of St Ives which we took with our digital camera, or if you're feeling creative, take a photo with your camera and use that image instead. Please send us your design or post it on our facebook Wellington Boot Designs Facebook page! Please ensure you use your own photographs as you may be infringing copyright by using someone else's photo.
Steps
- Start Paint.Net software
- Copy and paste the Wellington boot outline into a new image
- Using the Magic Wand tool cut the shape of the boot and "paste as a new layer"
- Move the boot to the bottom layer
- Create a new layer and add your image as tracing image below the boot layer
- Use the paint tools draw on the boot layer
- Save your Wellington Boot design as a PNG image
Step 5: Admire the results
